
Create and organize
Create and browse projects, then manage their overview, properties, dates, and owner.
Create a project
- Open an area's Projects tab.
- Select New.
- Enter the project name.
- Choose an icon and color.
- Select Create.
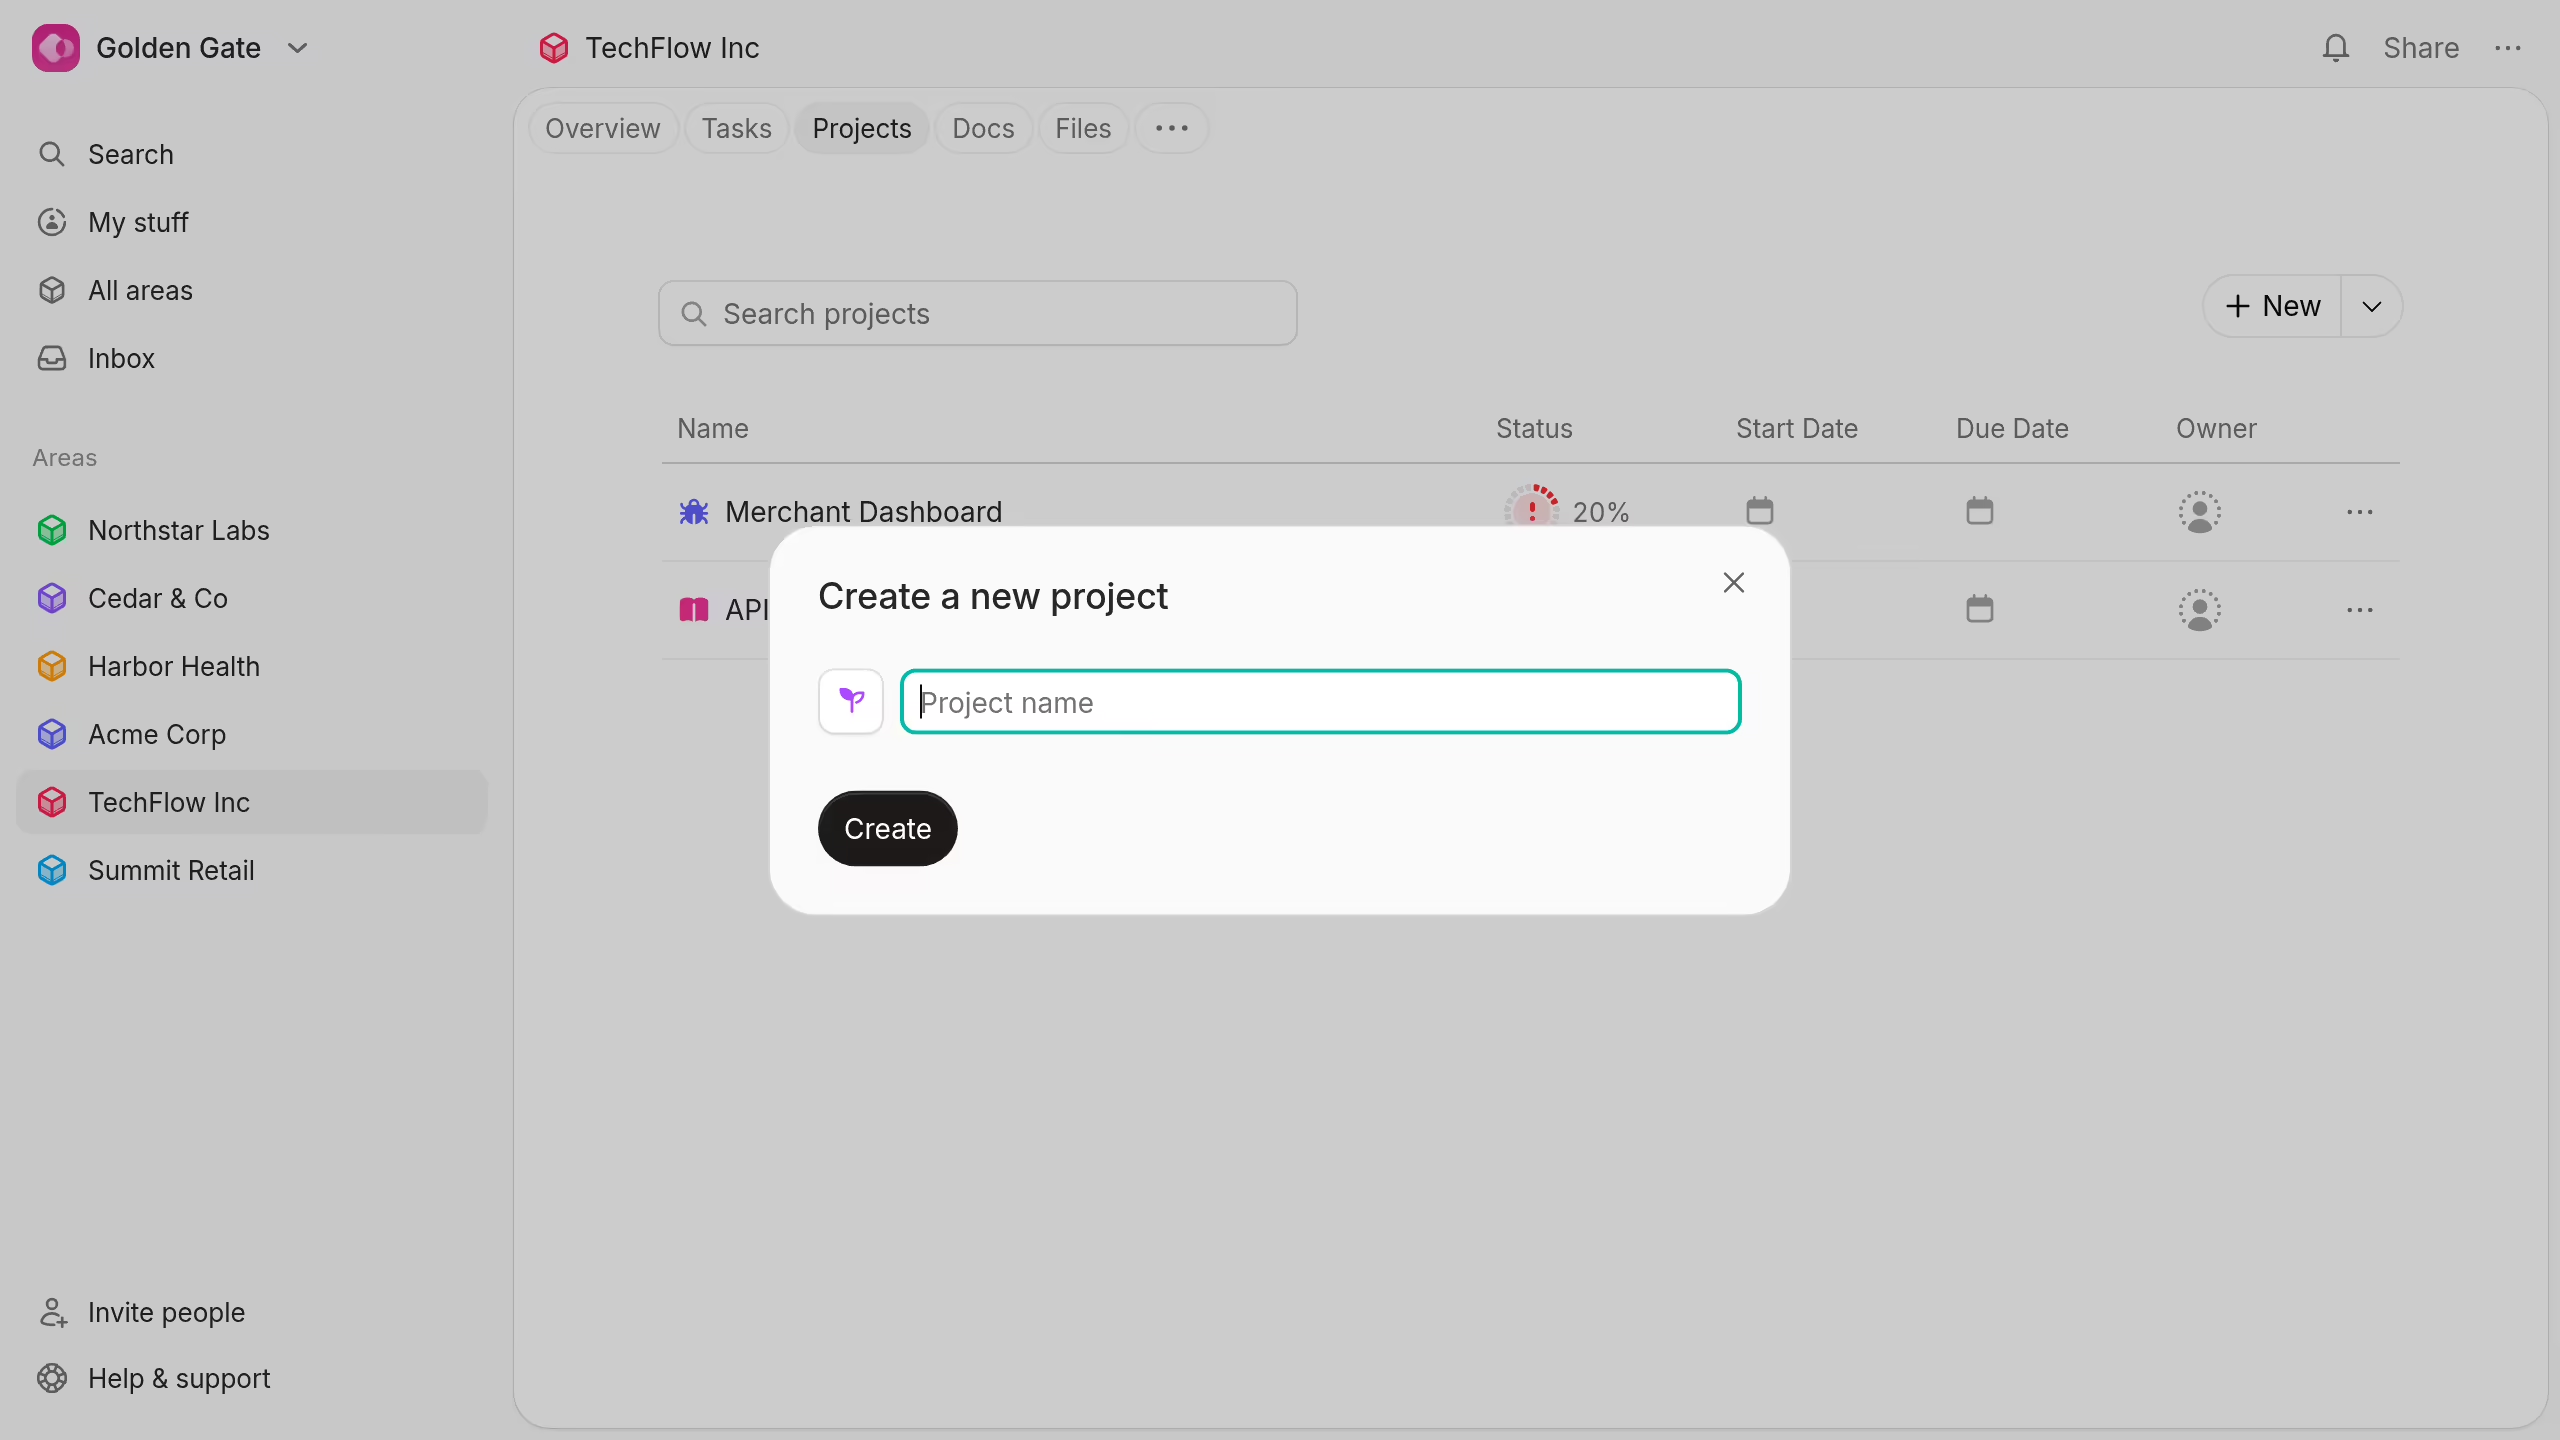
Use Create from template when the area already has a suitable project template.
Browse area projects
The project table shows each project's status, start date, due date, and owner.
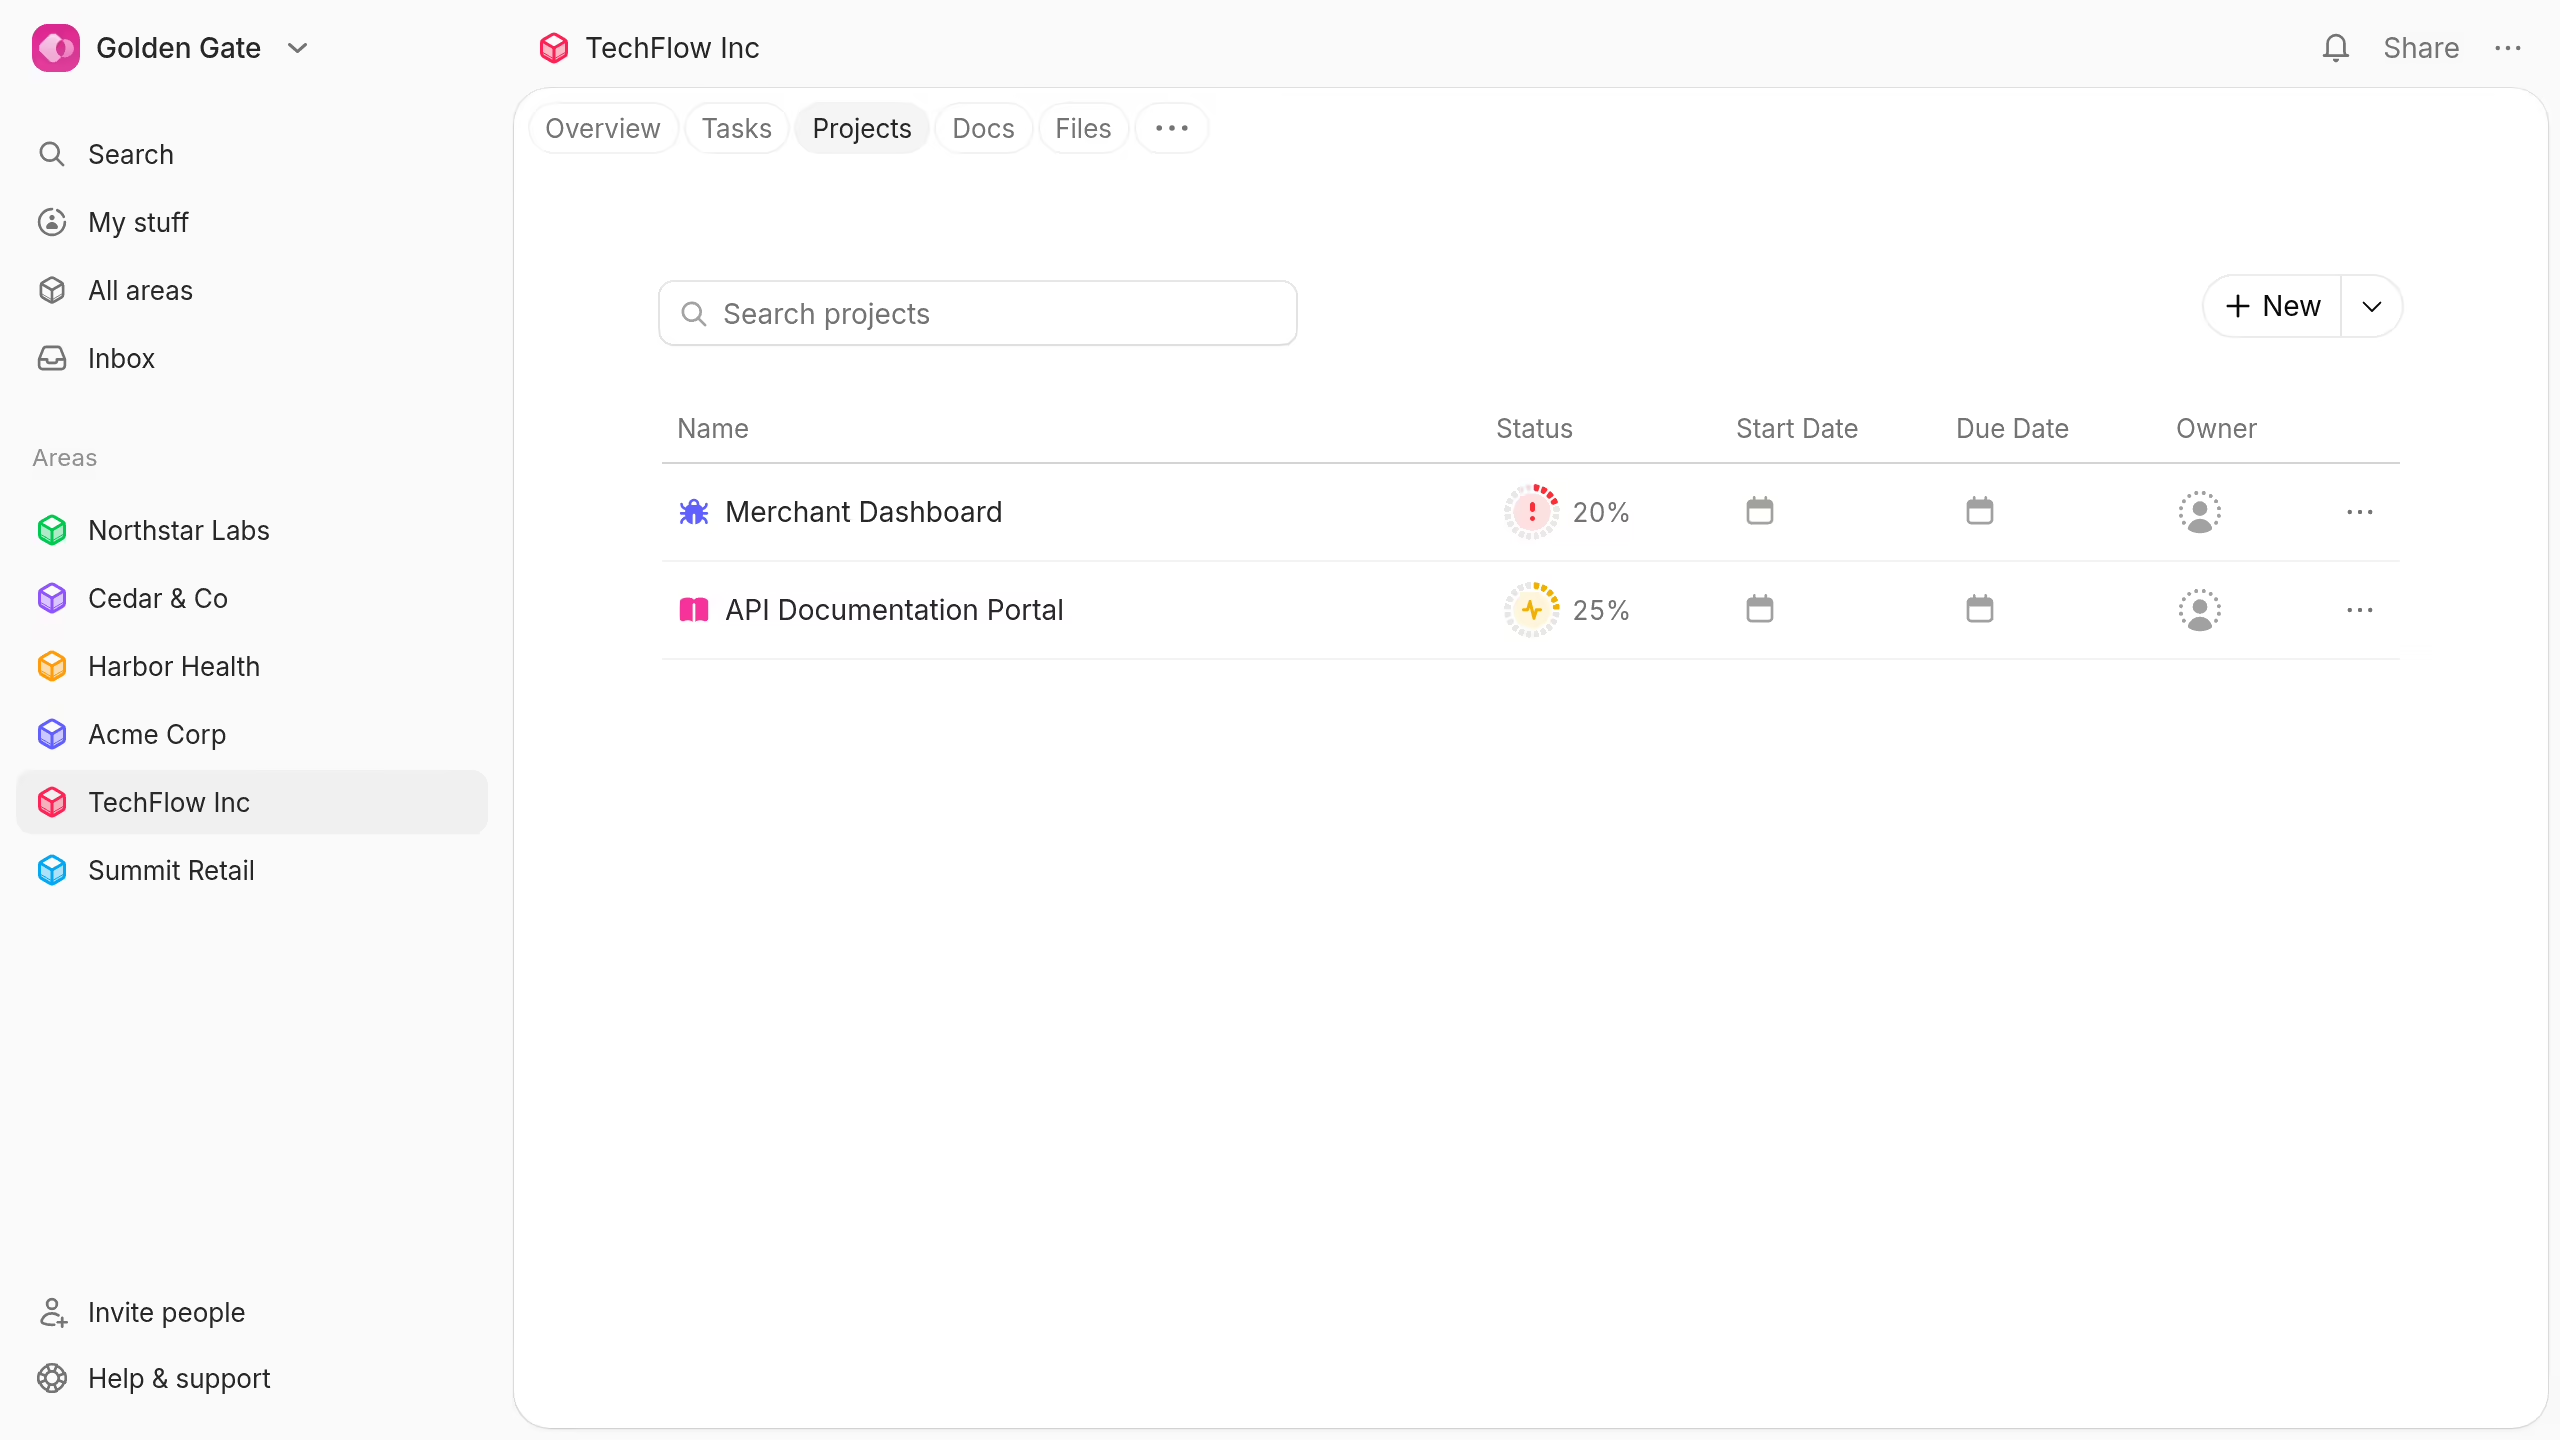
Search by name. Select a column heading to sort the table. You can also edit common values directly in the table.
Build the project overview
Open a project and add its goal, scope, requirements, links, and success measures.
The overview keeps the plan, task progress, updates, and properties on one page.
Edit project properties
Use the properties panel or the project menu to change:
- Owner: The person responsible for the project.
- Status: The project's current health or stage.
- Start date: When planned work begins.
- Due date: The target completion date.
- Area: The area that owns the project.
Choose No owner when responsibility has not been assigned.
Set project dates
Use Start date and Due date to define the project's planned window.
Dates also make the project easier to review from project tables and planning views.
Assign a project owner
Select Owner, then choose an area or project collaborator.
The owner communicates responsibility. It does not replace access settings or task assignments.