
Templates
Save complete task and project workflows, then reuse them across client work.
Templates turn a proven process into a repeatable workflow. Use them to start each client engagement with the same plan, owners, task structure, and schedule.
For example, an agency can save one website launch template. Each new client project then starts with its discovery, approval, and launch tasks already planned.
Choose a template scope
Choose the scope that matches how your team reuses work:
- Workspace templates work in every active area. Use them for services that follow the same process for all clients.
- Area templates keep area-specific statuses, labels, and member choices. Use them for a process that depends on one area's setup.
- Area project templates can appear in more than one selected area. One area still owns and manages the template.
Create a workspace template
- Open Settings.
- Under Workspace, select Templates.
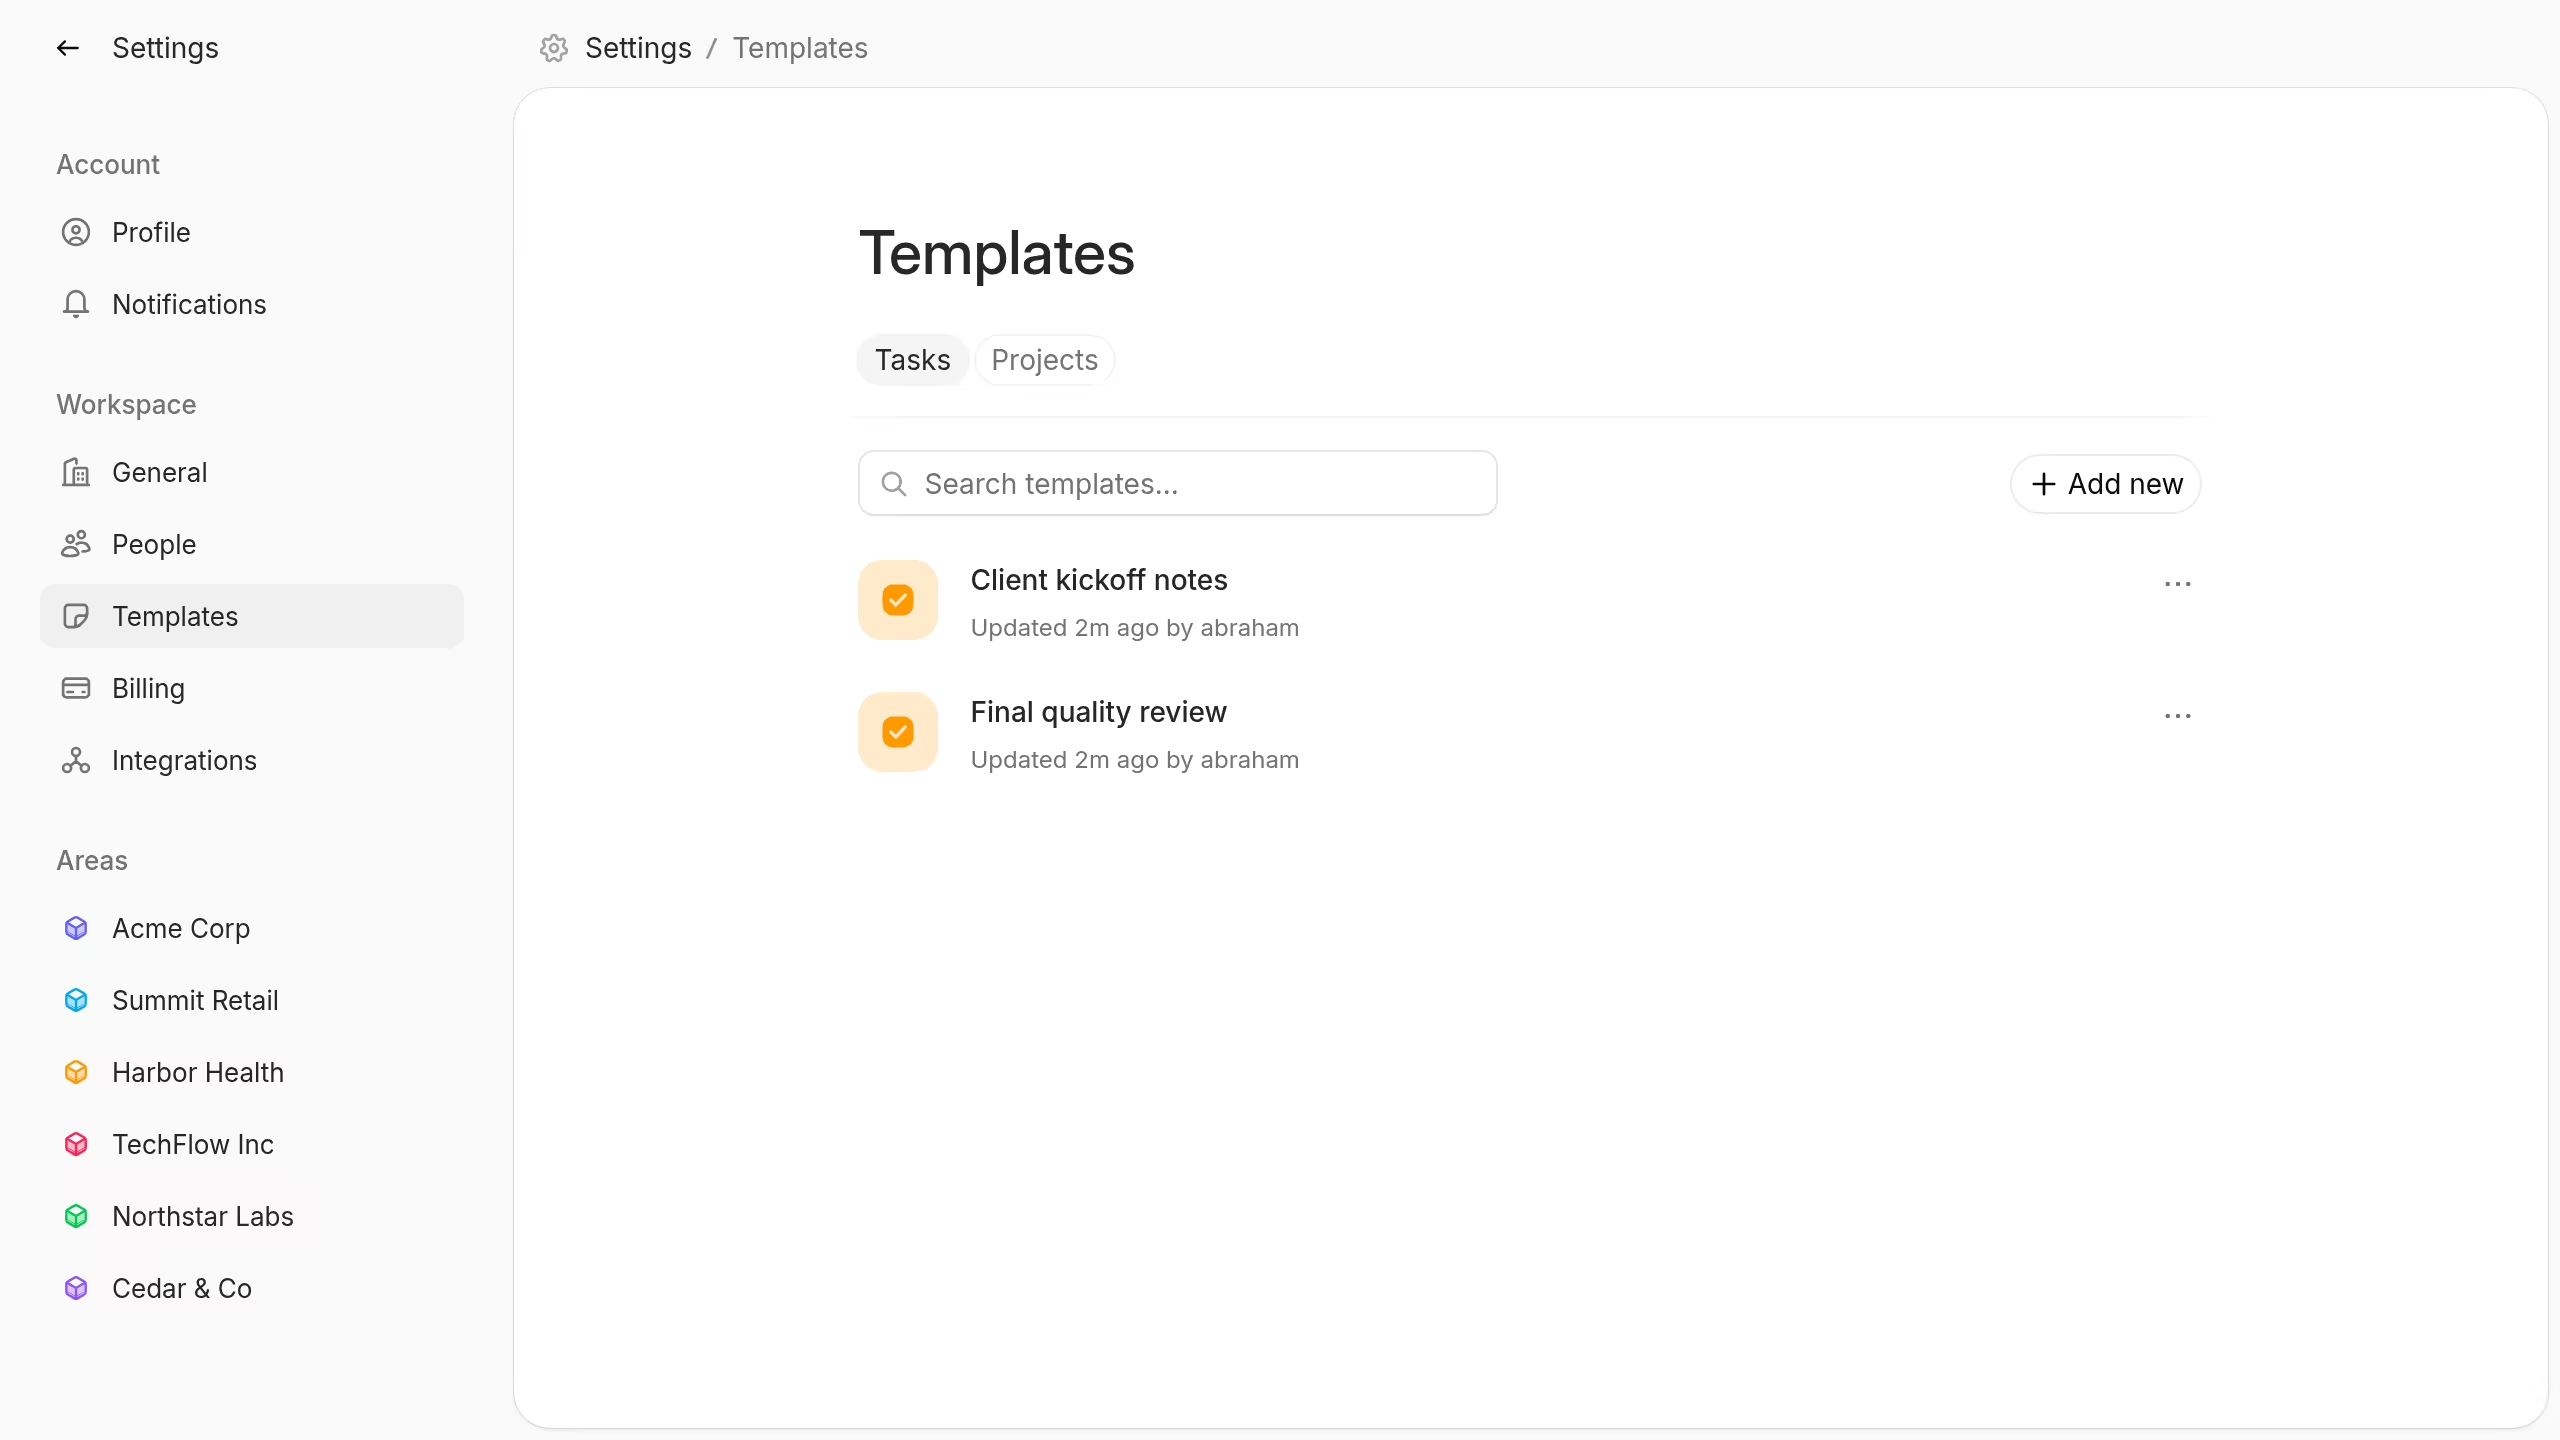
- Select Tasks or Projects.
- Select Add new.
- Enter a clear template name and description.
- Add the properties and task structure that each copy needs.
Plot creates the template immediately and opens its editor. Plot saves each change as you work.
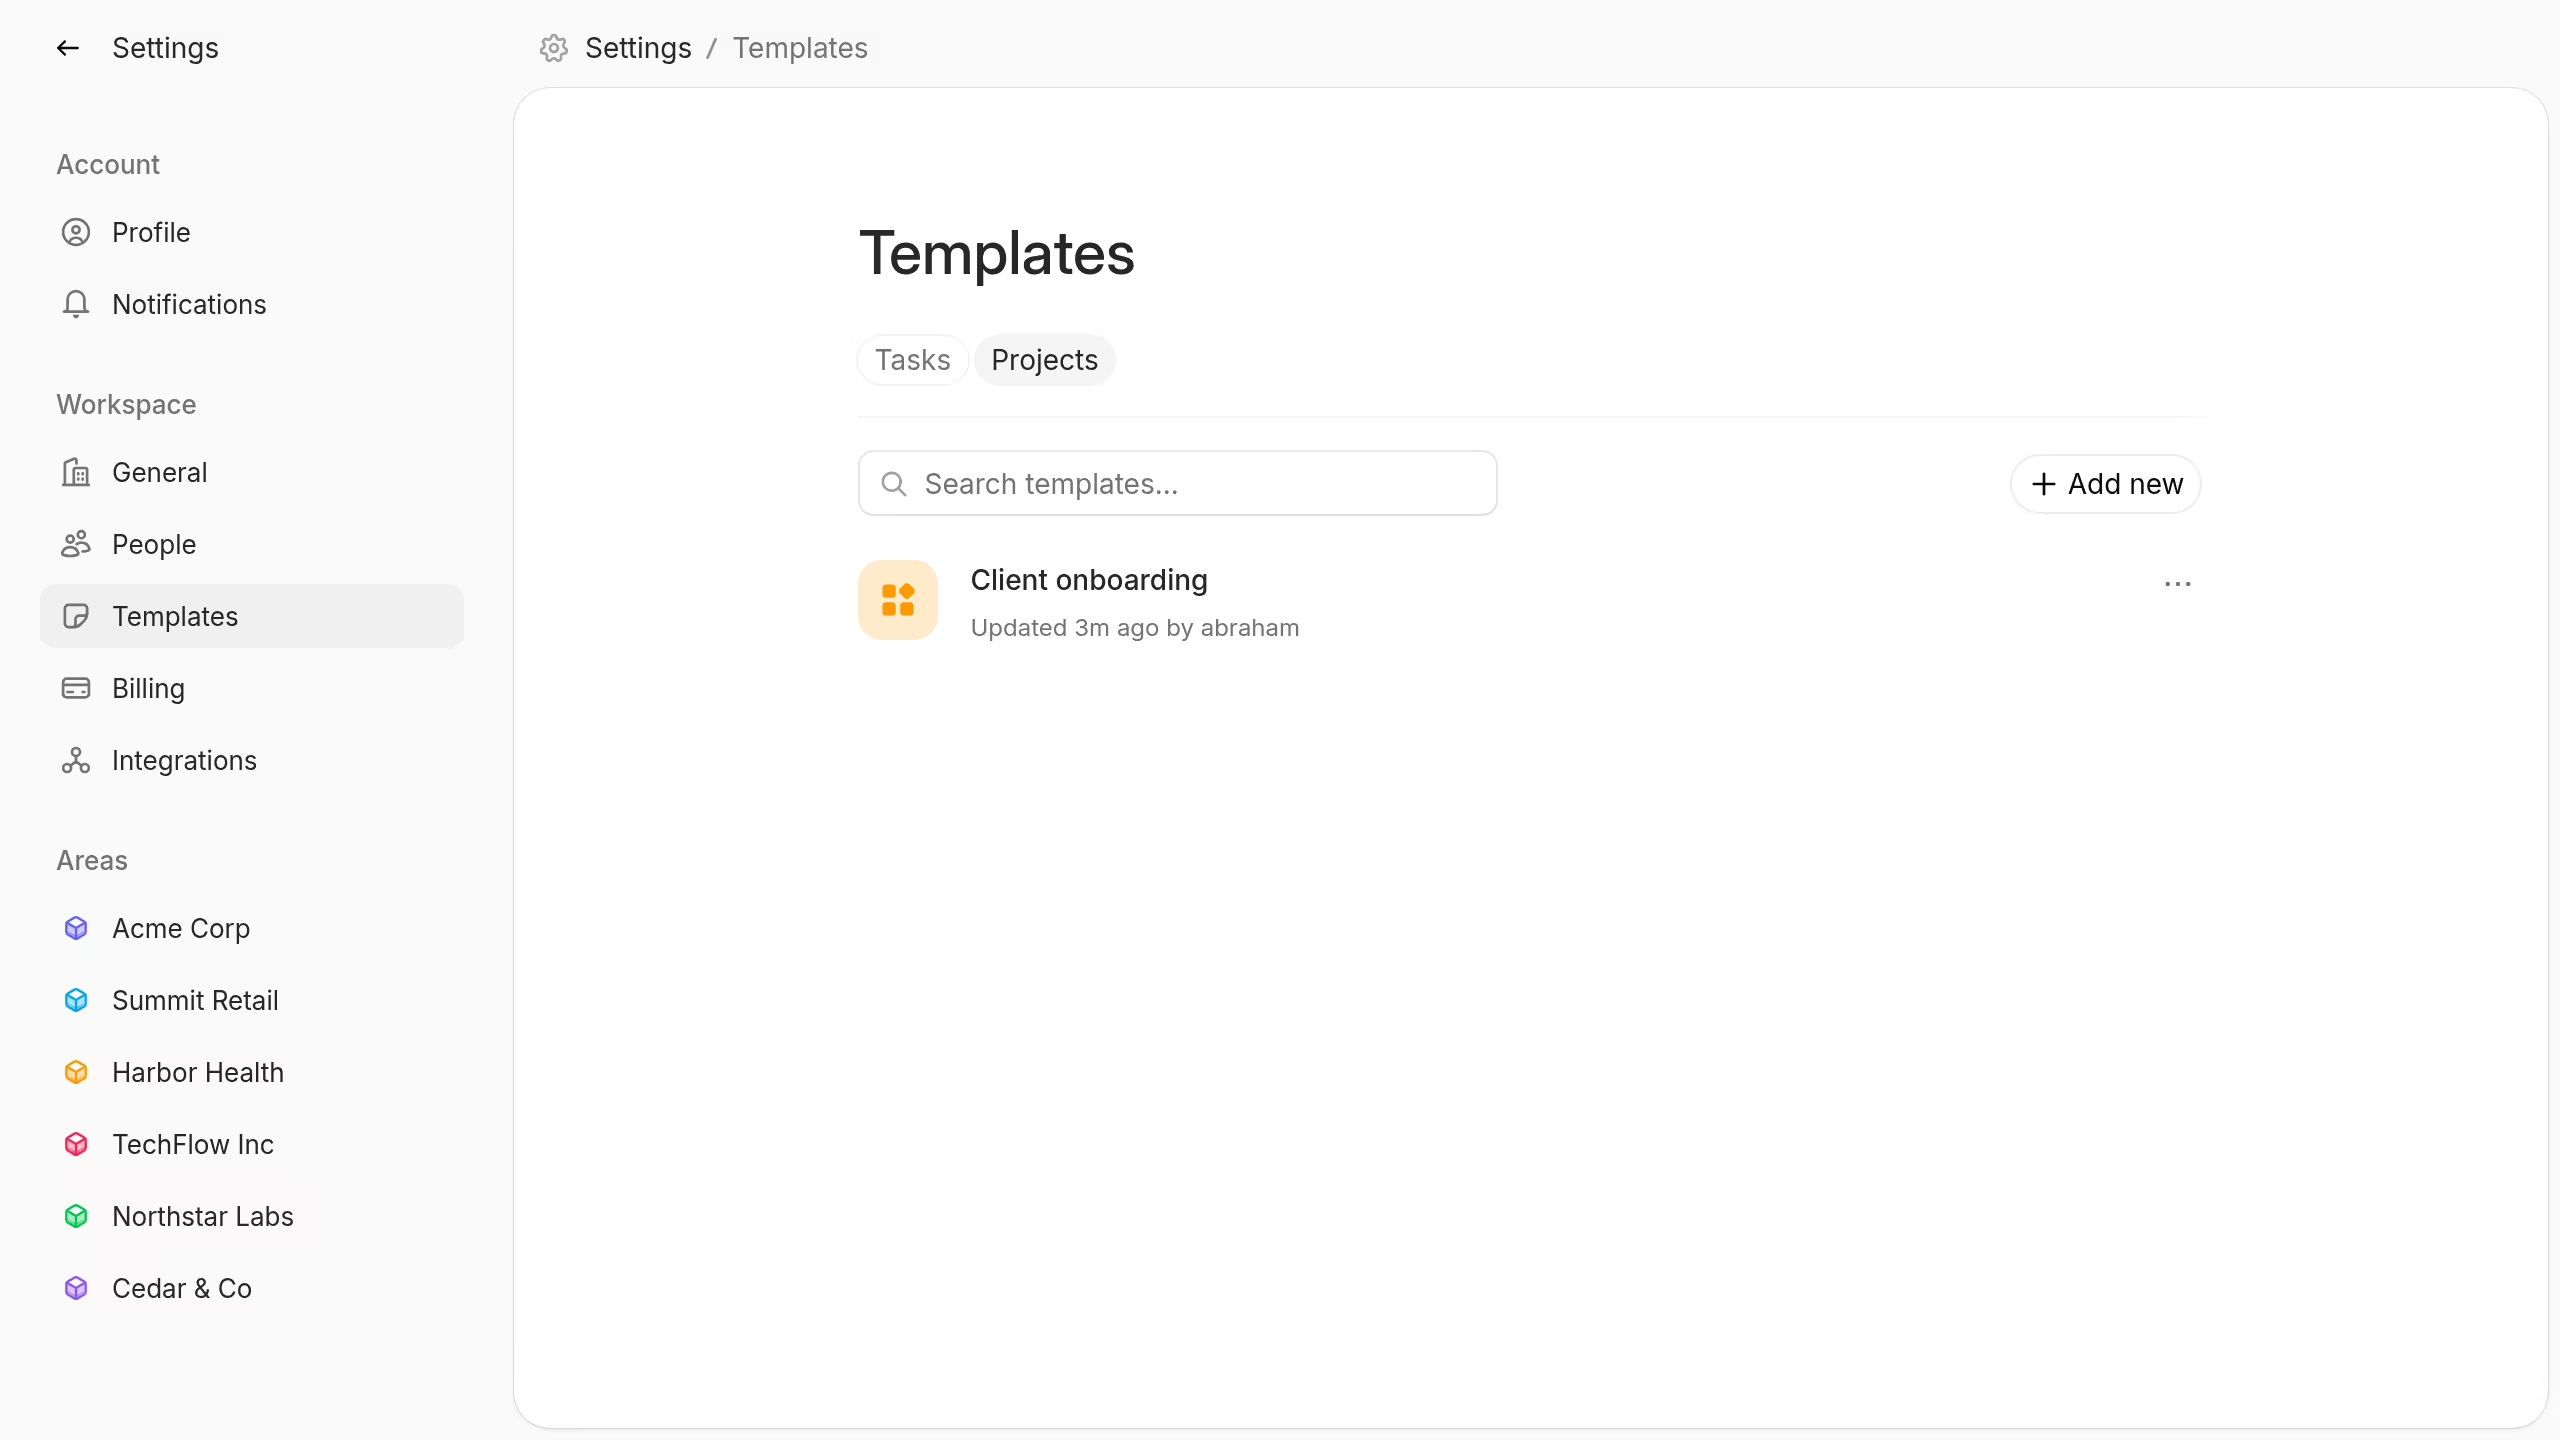
Switch to Projects to manage reusable project workflows for all areas.
Create an area template
- Open the area's Area options menu.
- Select Templates.
- Select Tasks or Projects.
- Select Add new.
- Add the reusable content and properties.
Area template lists also show the workspace templates that the area can use.
Build a task template
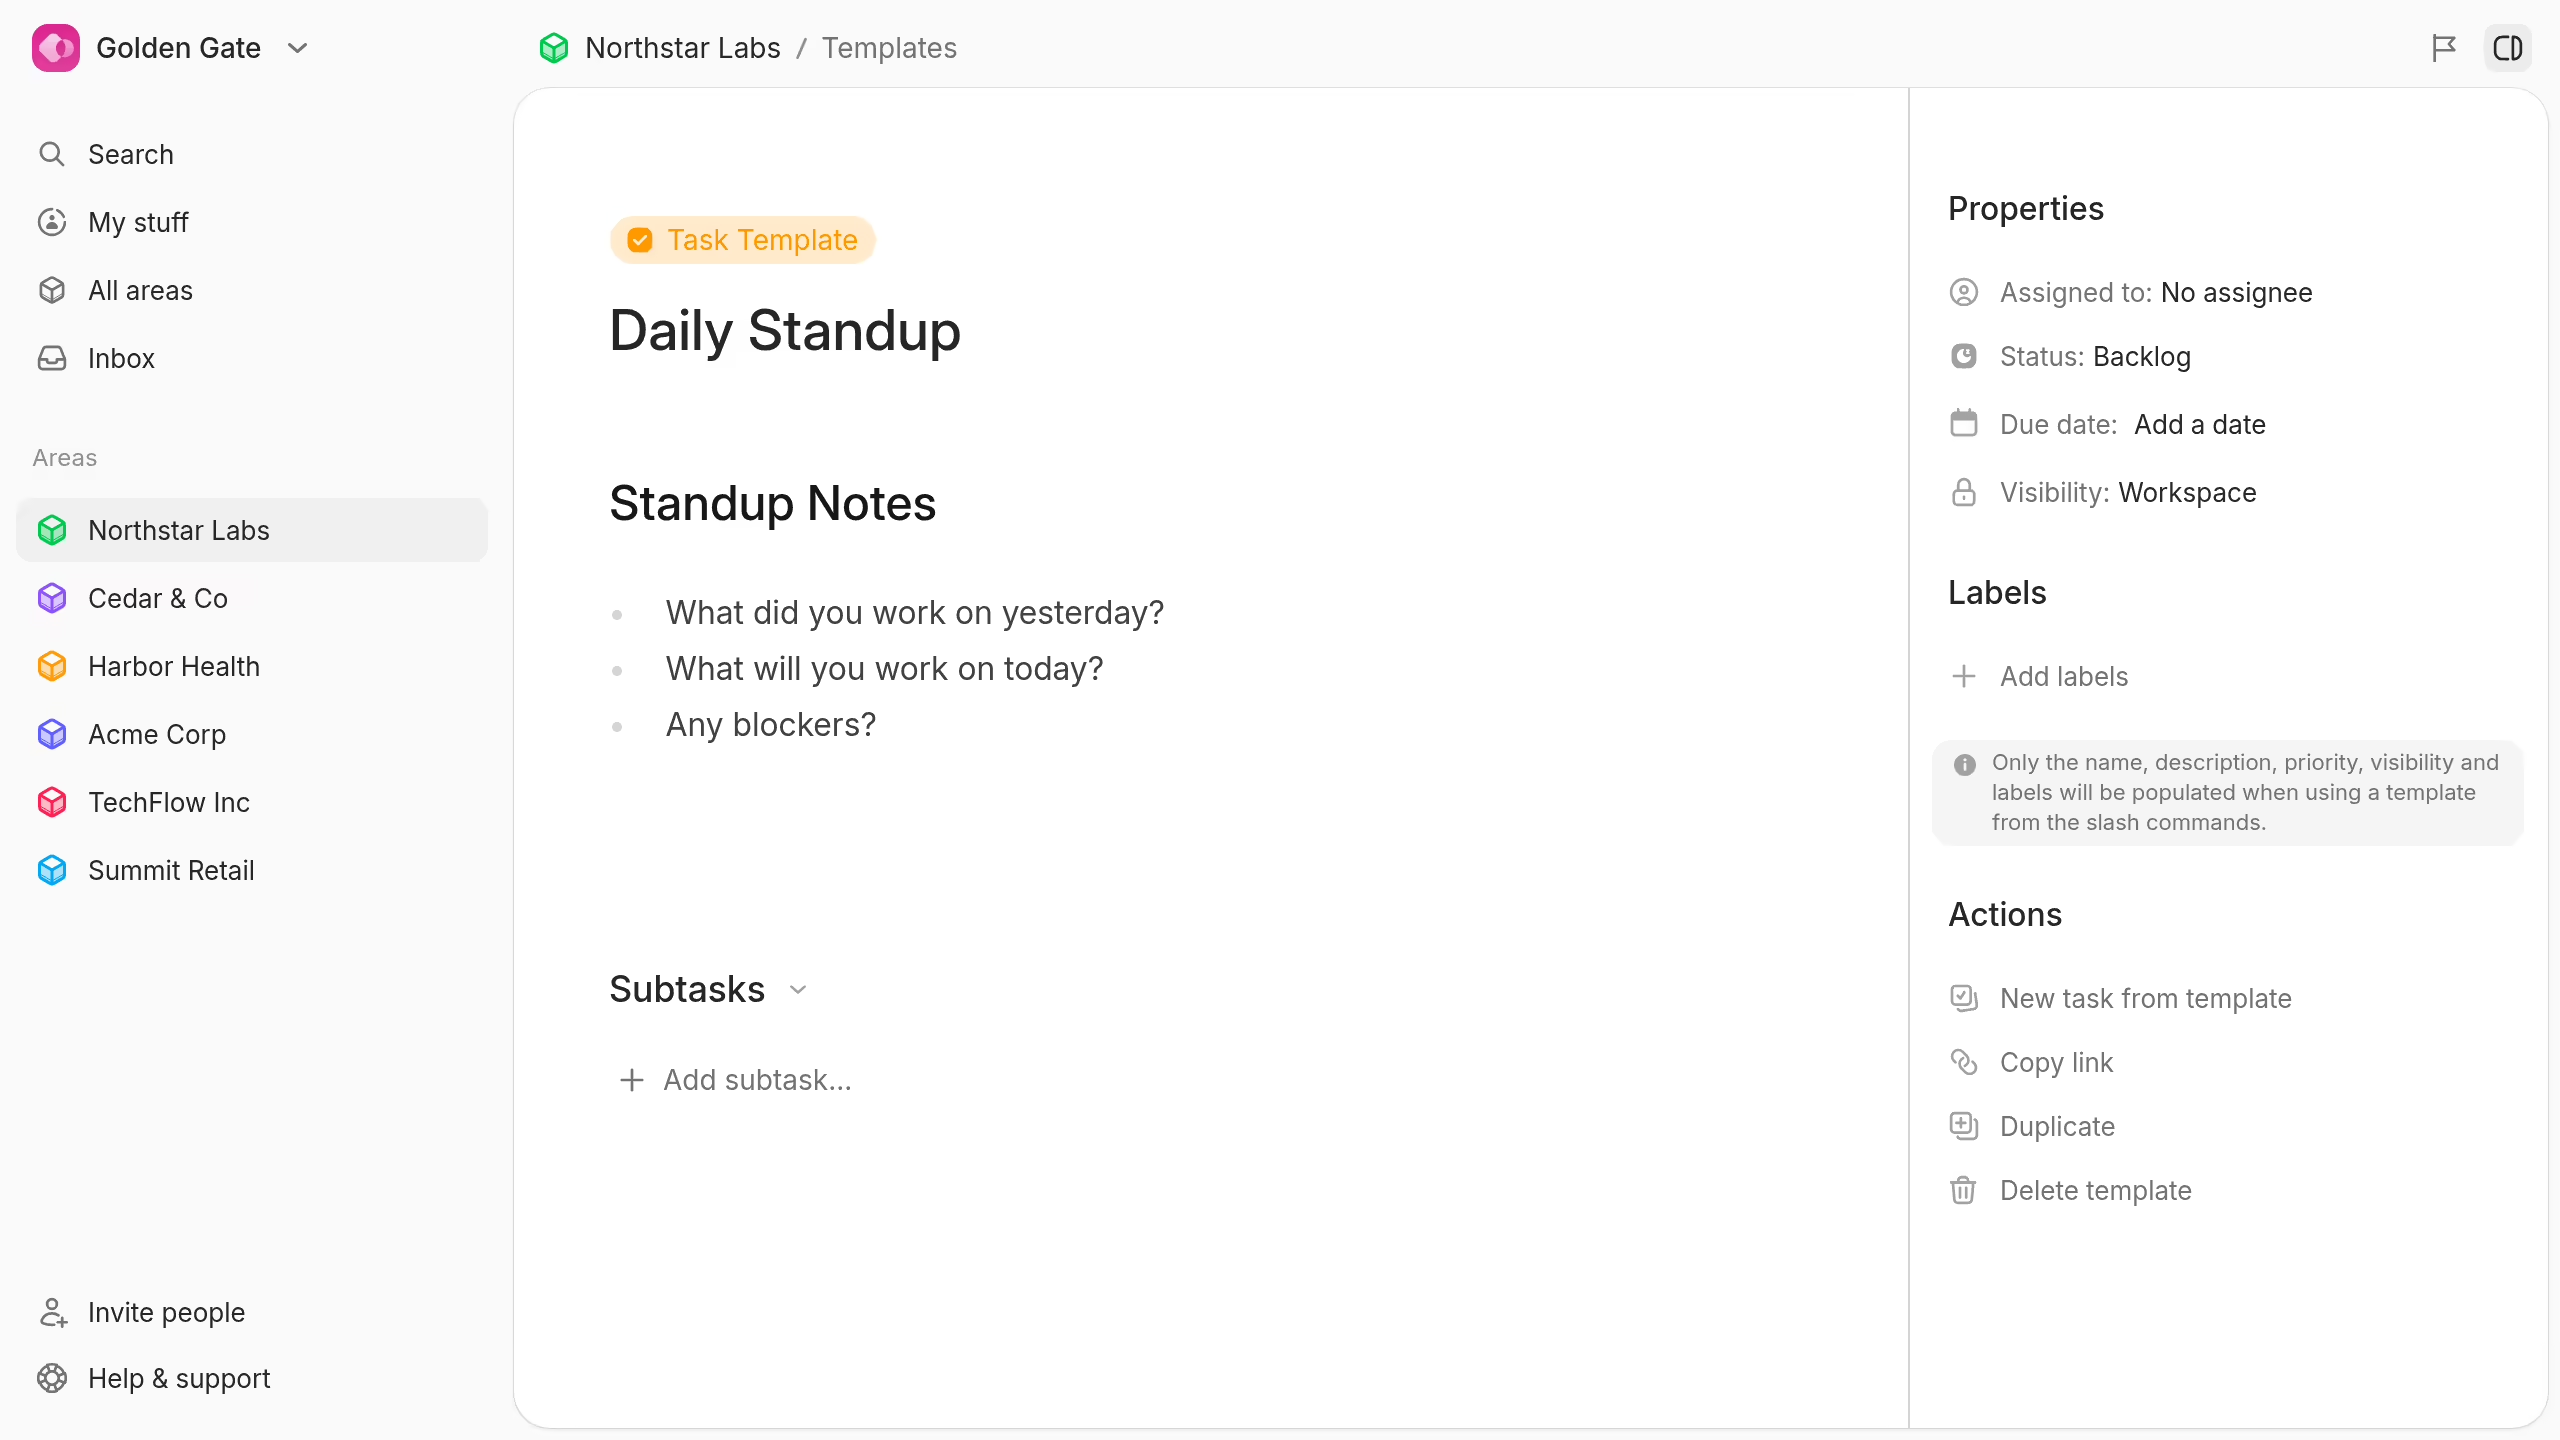
A task template can hold:
- A name and detailed instructions.
- Subtasks or a standard checklist.
- An assignee.
- A status or workspace status stage.
- A fixed or automatic due date.
- Visibility.
- Area labels when the template belongs to an area.
Open the task template to edit these values. Use New task from template to test the complete result before your team adopts it.
Build a project template
A project template can hold the complete plan for a repeatable service:
- A project name, brief, and standard context.
- A project owner.
- Fixed or automatic project start and due dates.
- Tasks with assignees, statuses, labels, visibility, and due dates.
- Subtasks inside each task template.
- Selected areas for an area project template.
Add tasks in the order that the work happens. Drag them to change that order. Open each task when you need its description, subtasks, or other properties.
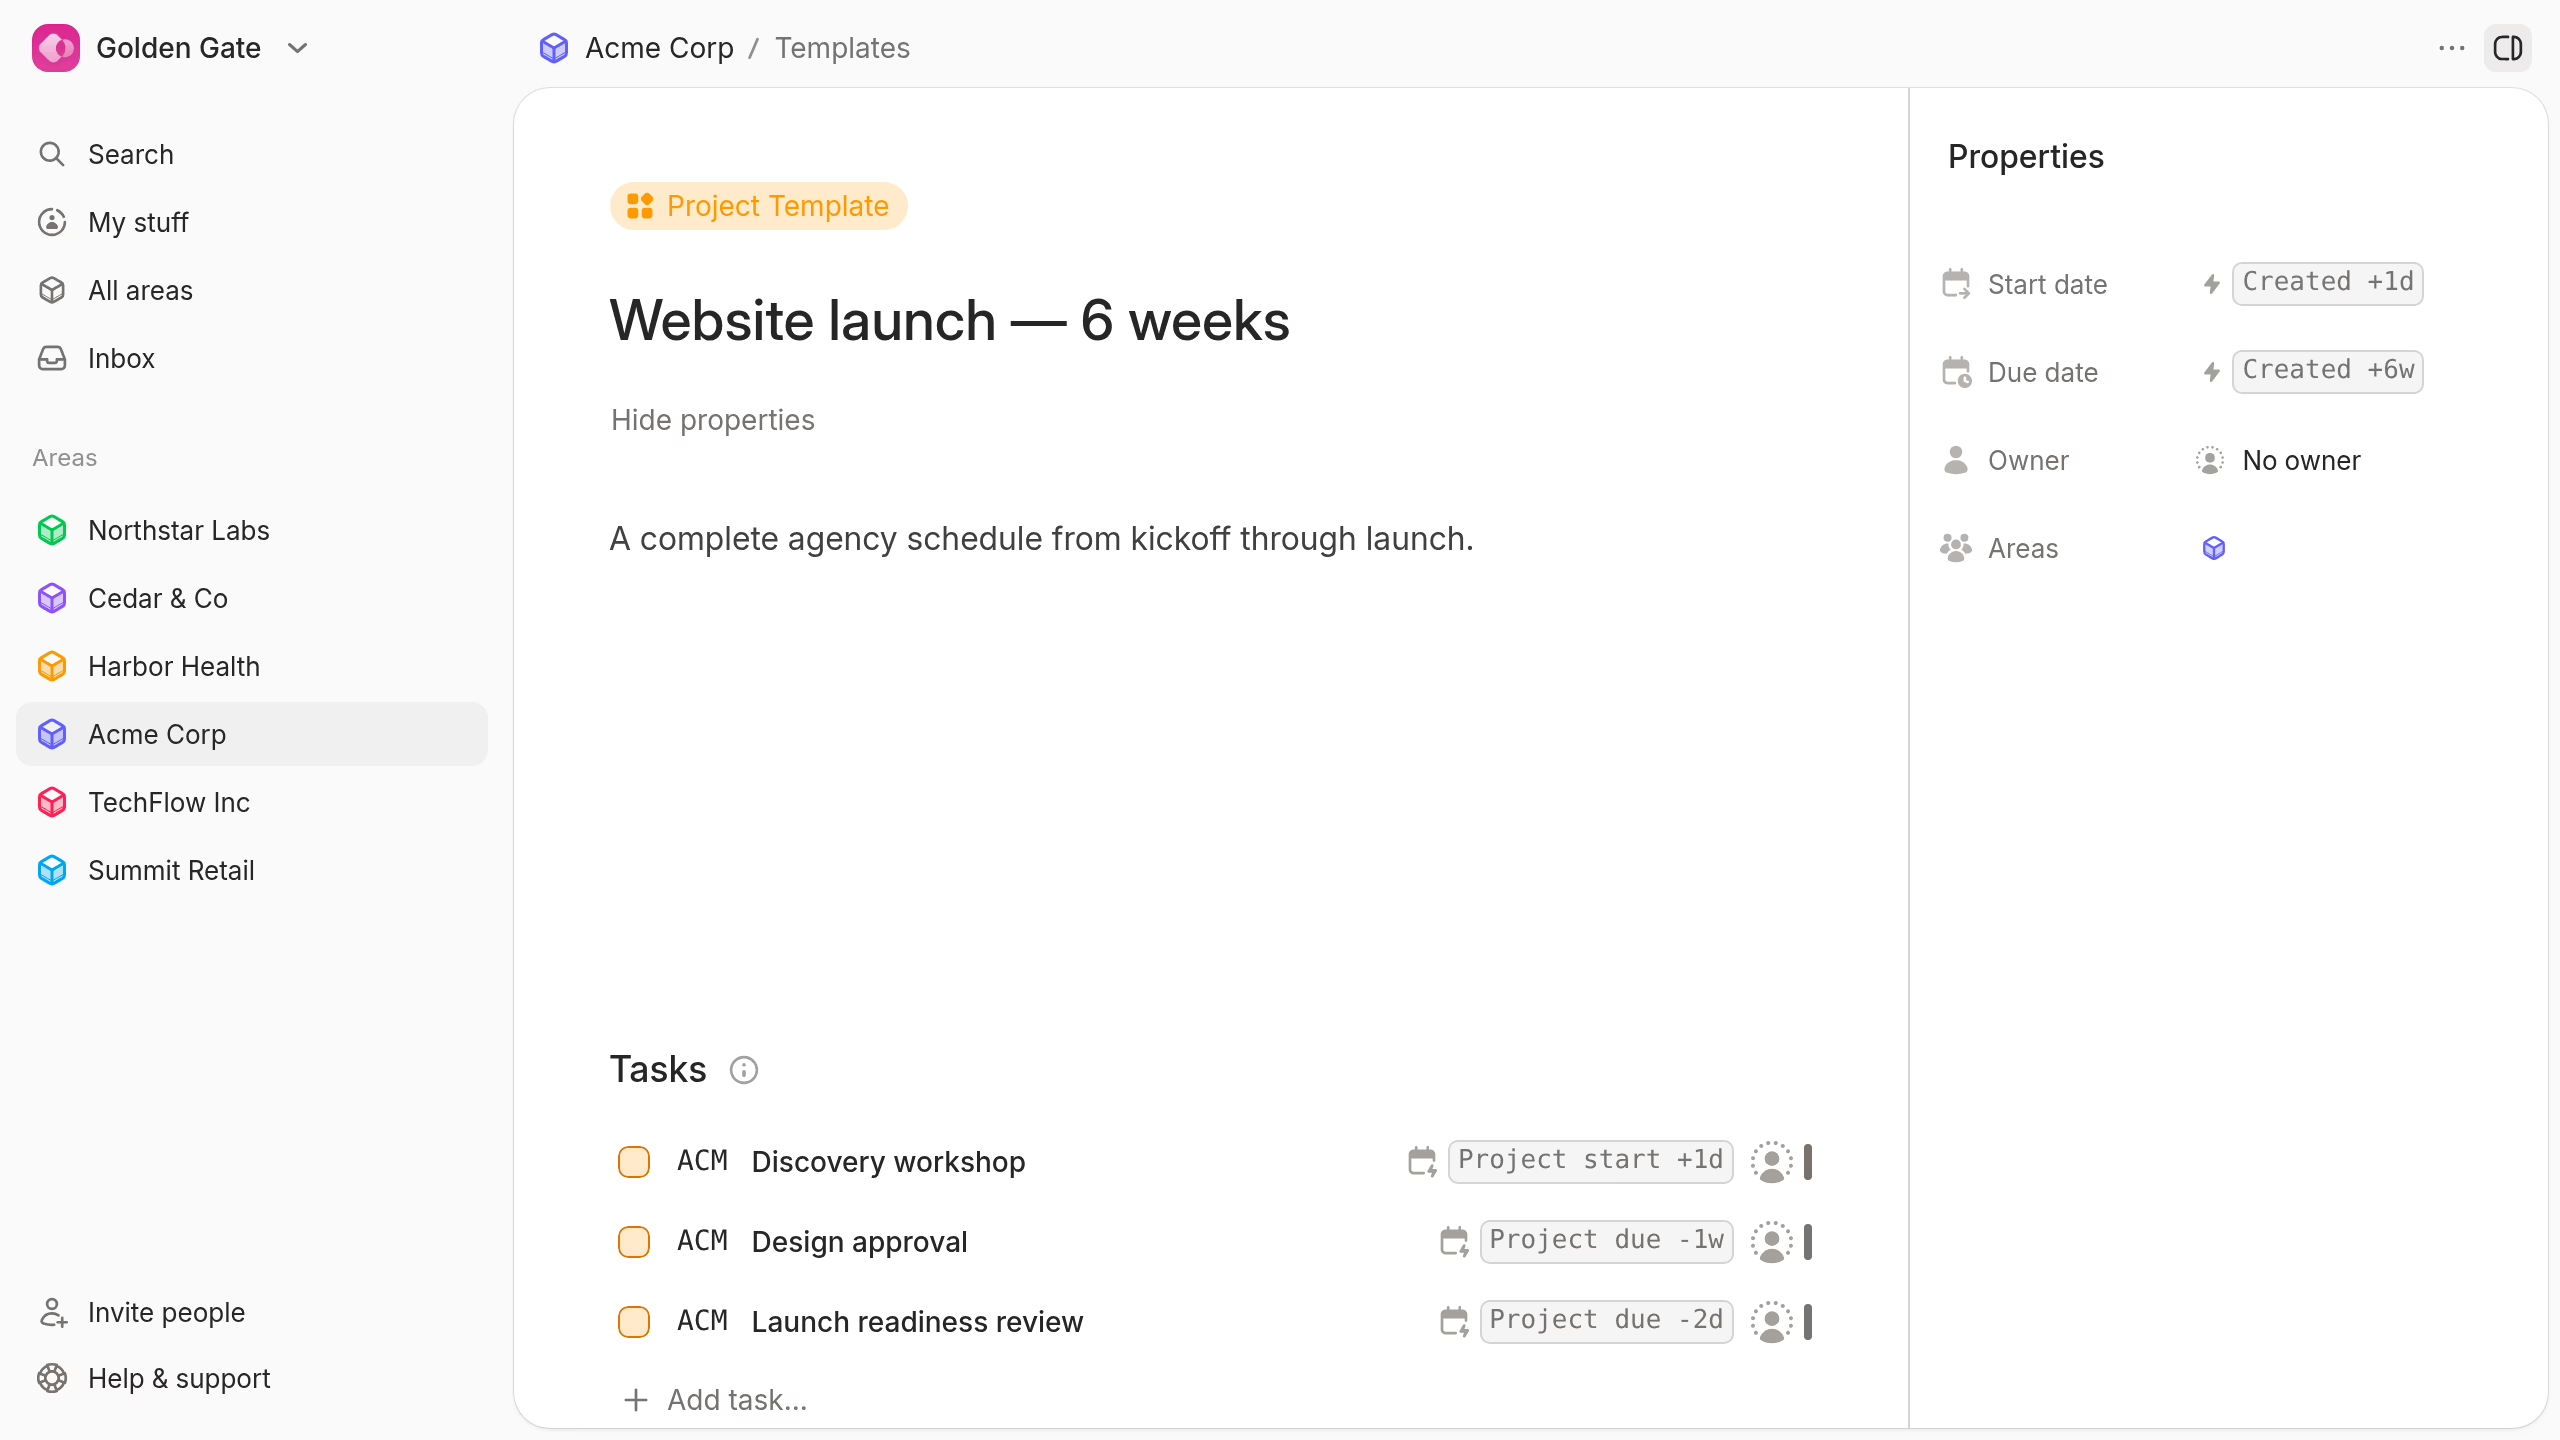
Use relative dates to make the complete plan adapt to each project creation date.
Create work from a template
Open a task template and select New task from template. A workspace template asks you to choose the target area.
You can also select a template suggestion while you create a task. The quick command copies only the name, description, priority, and visibility.
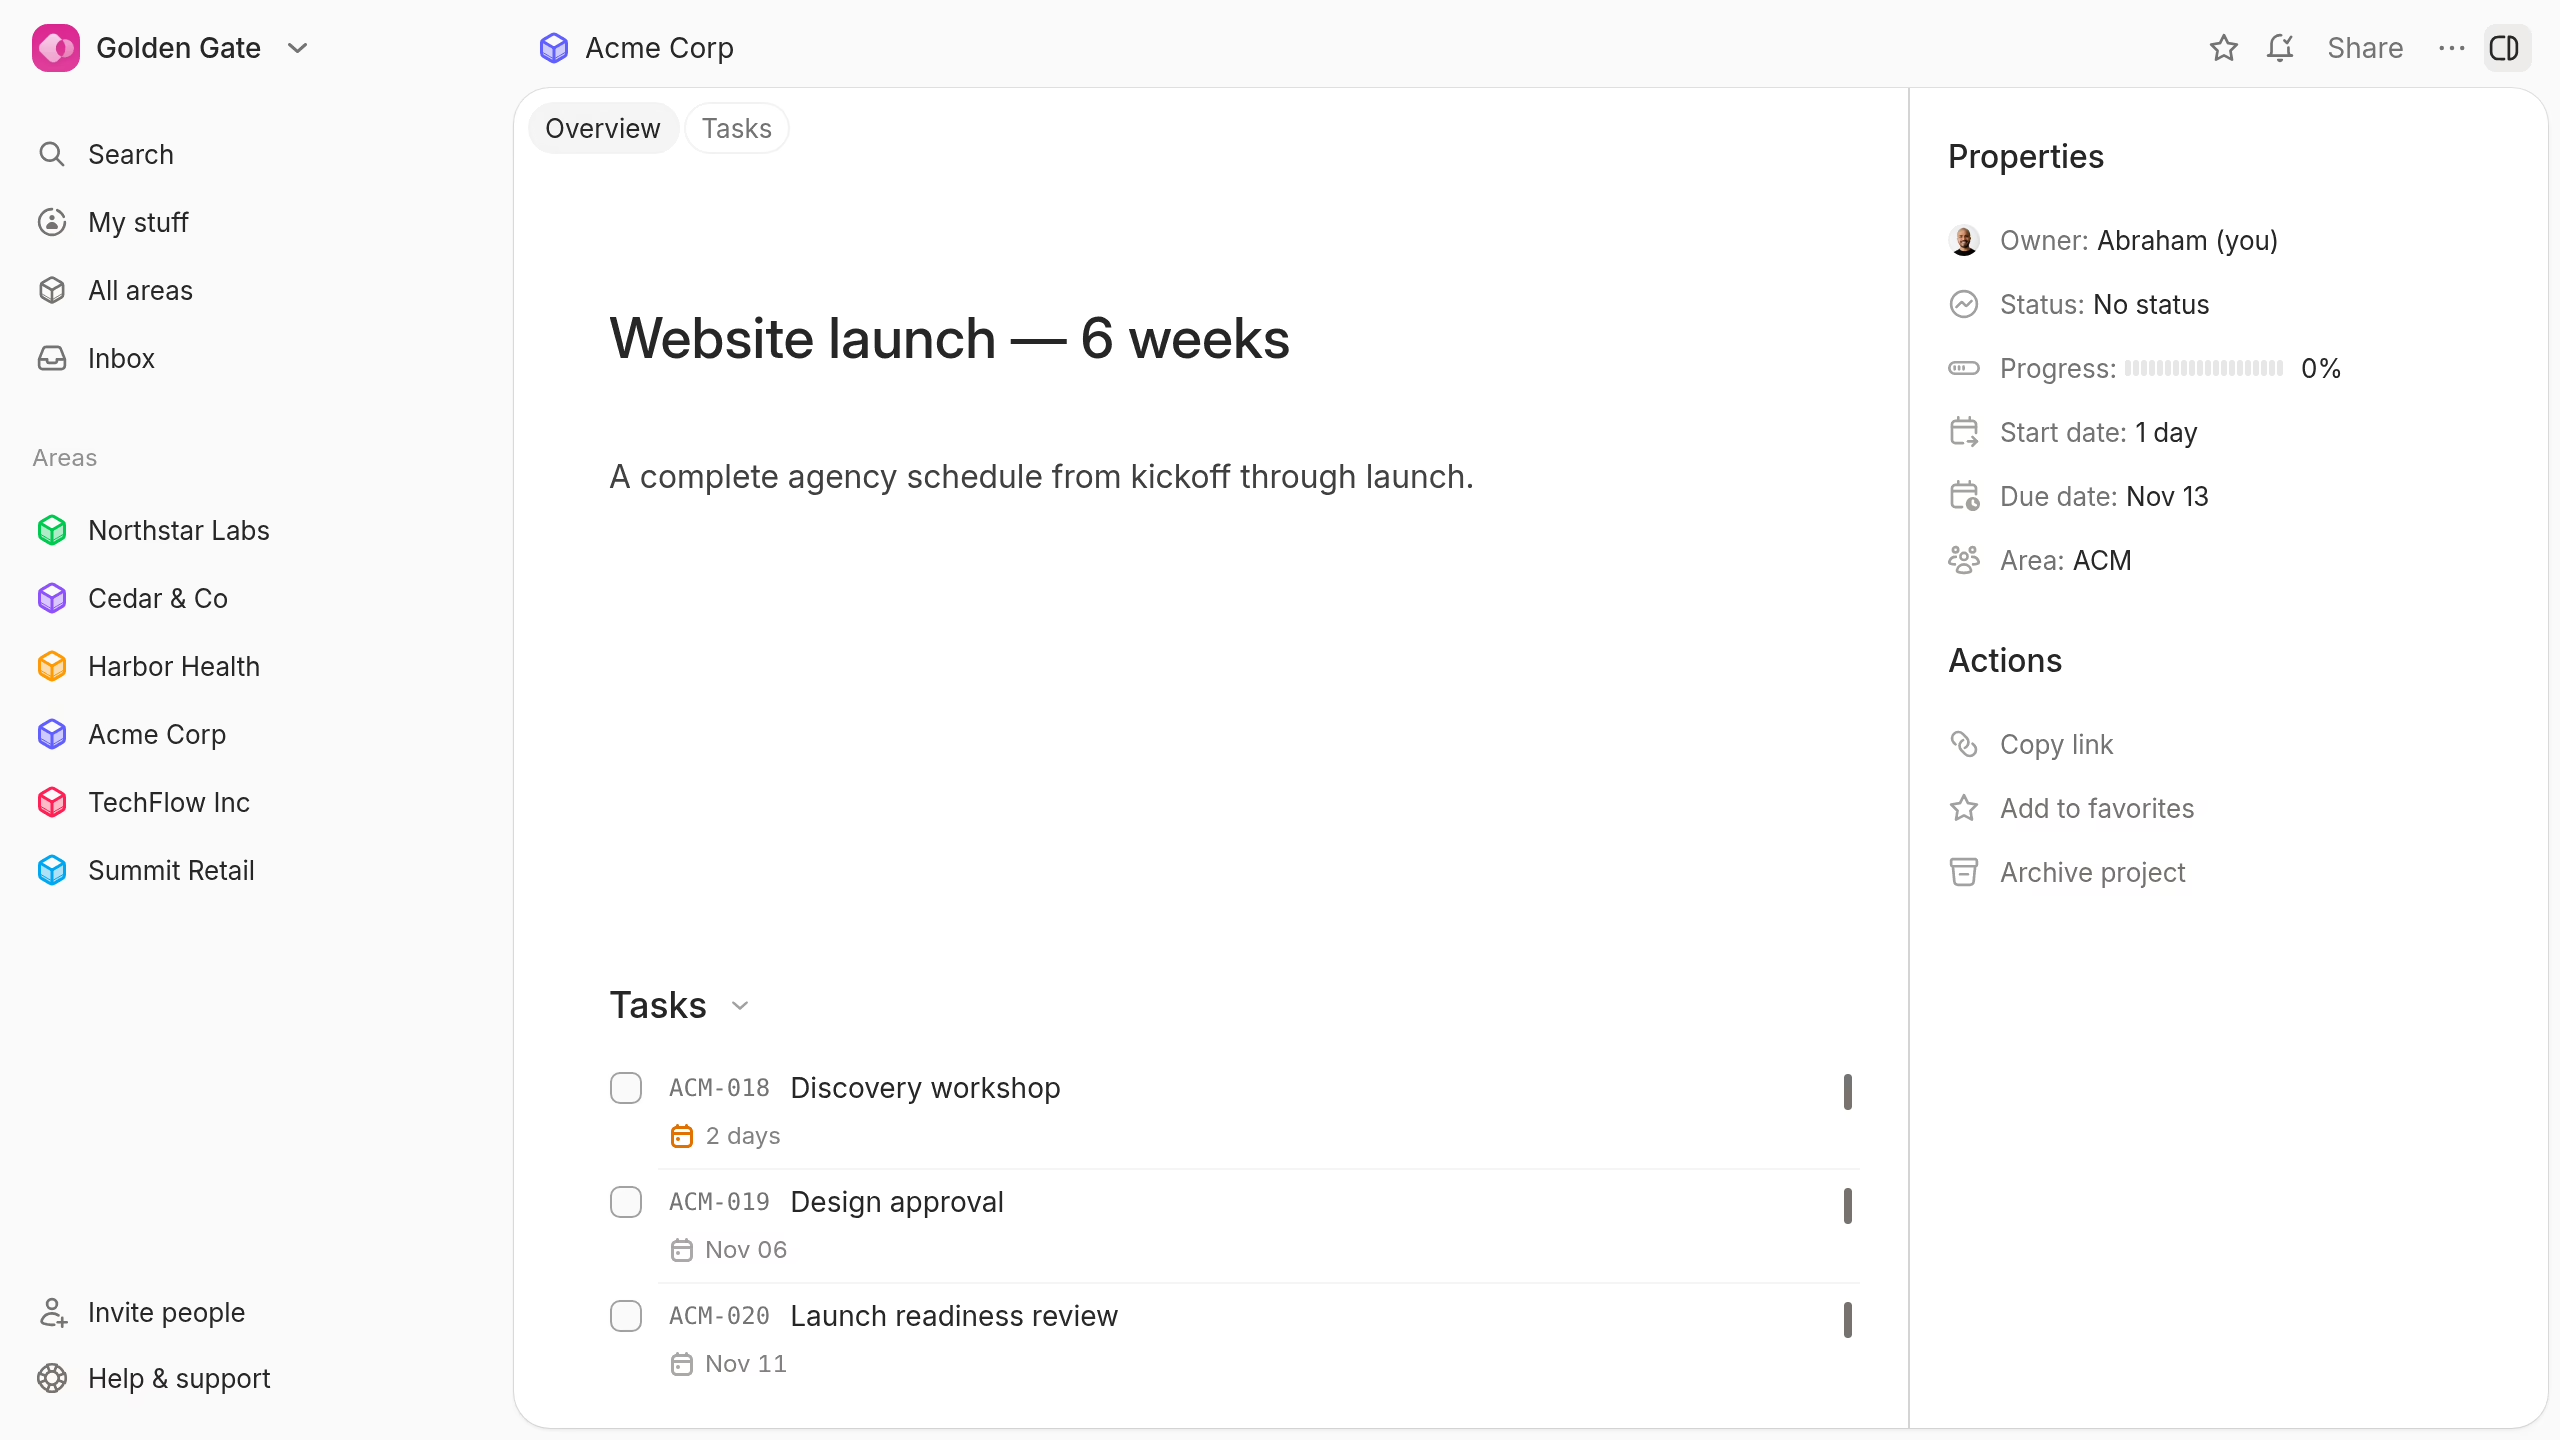
Open a project template and select New project from template. A workspace template asks you to choose the target area.
Plot creates the project, its tasks, and all calculated dates together.
Use the template menu
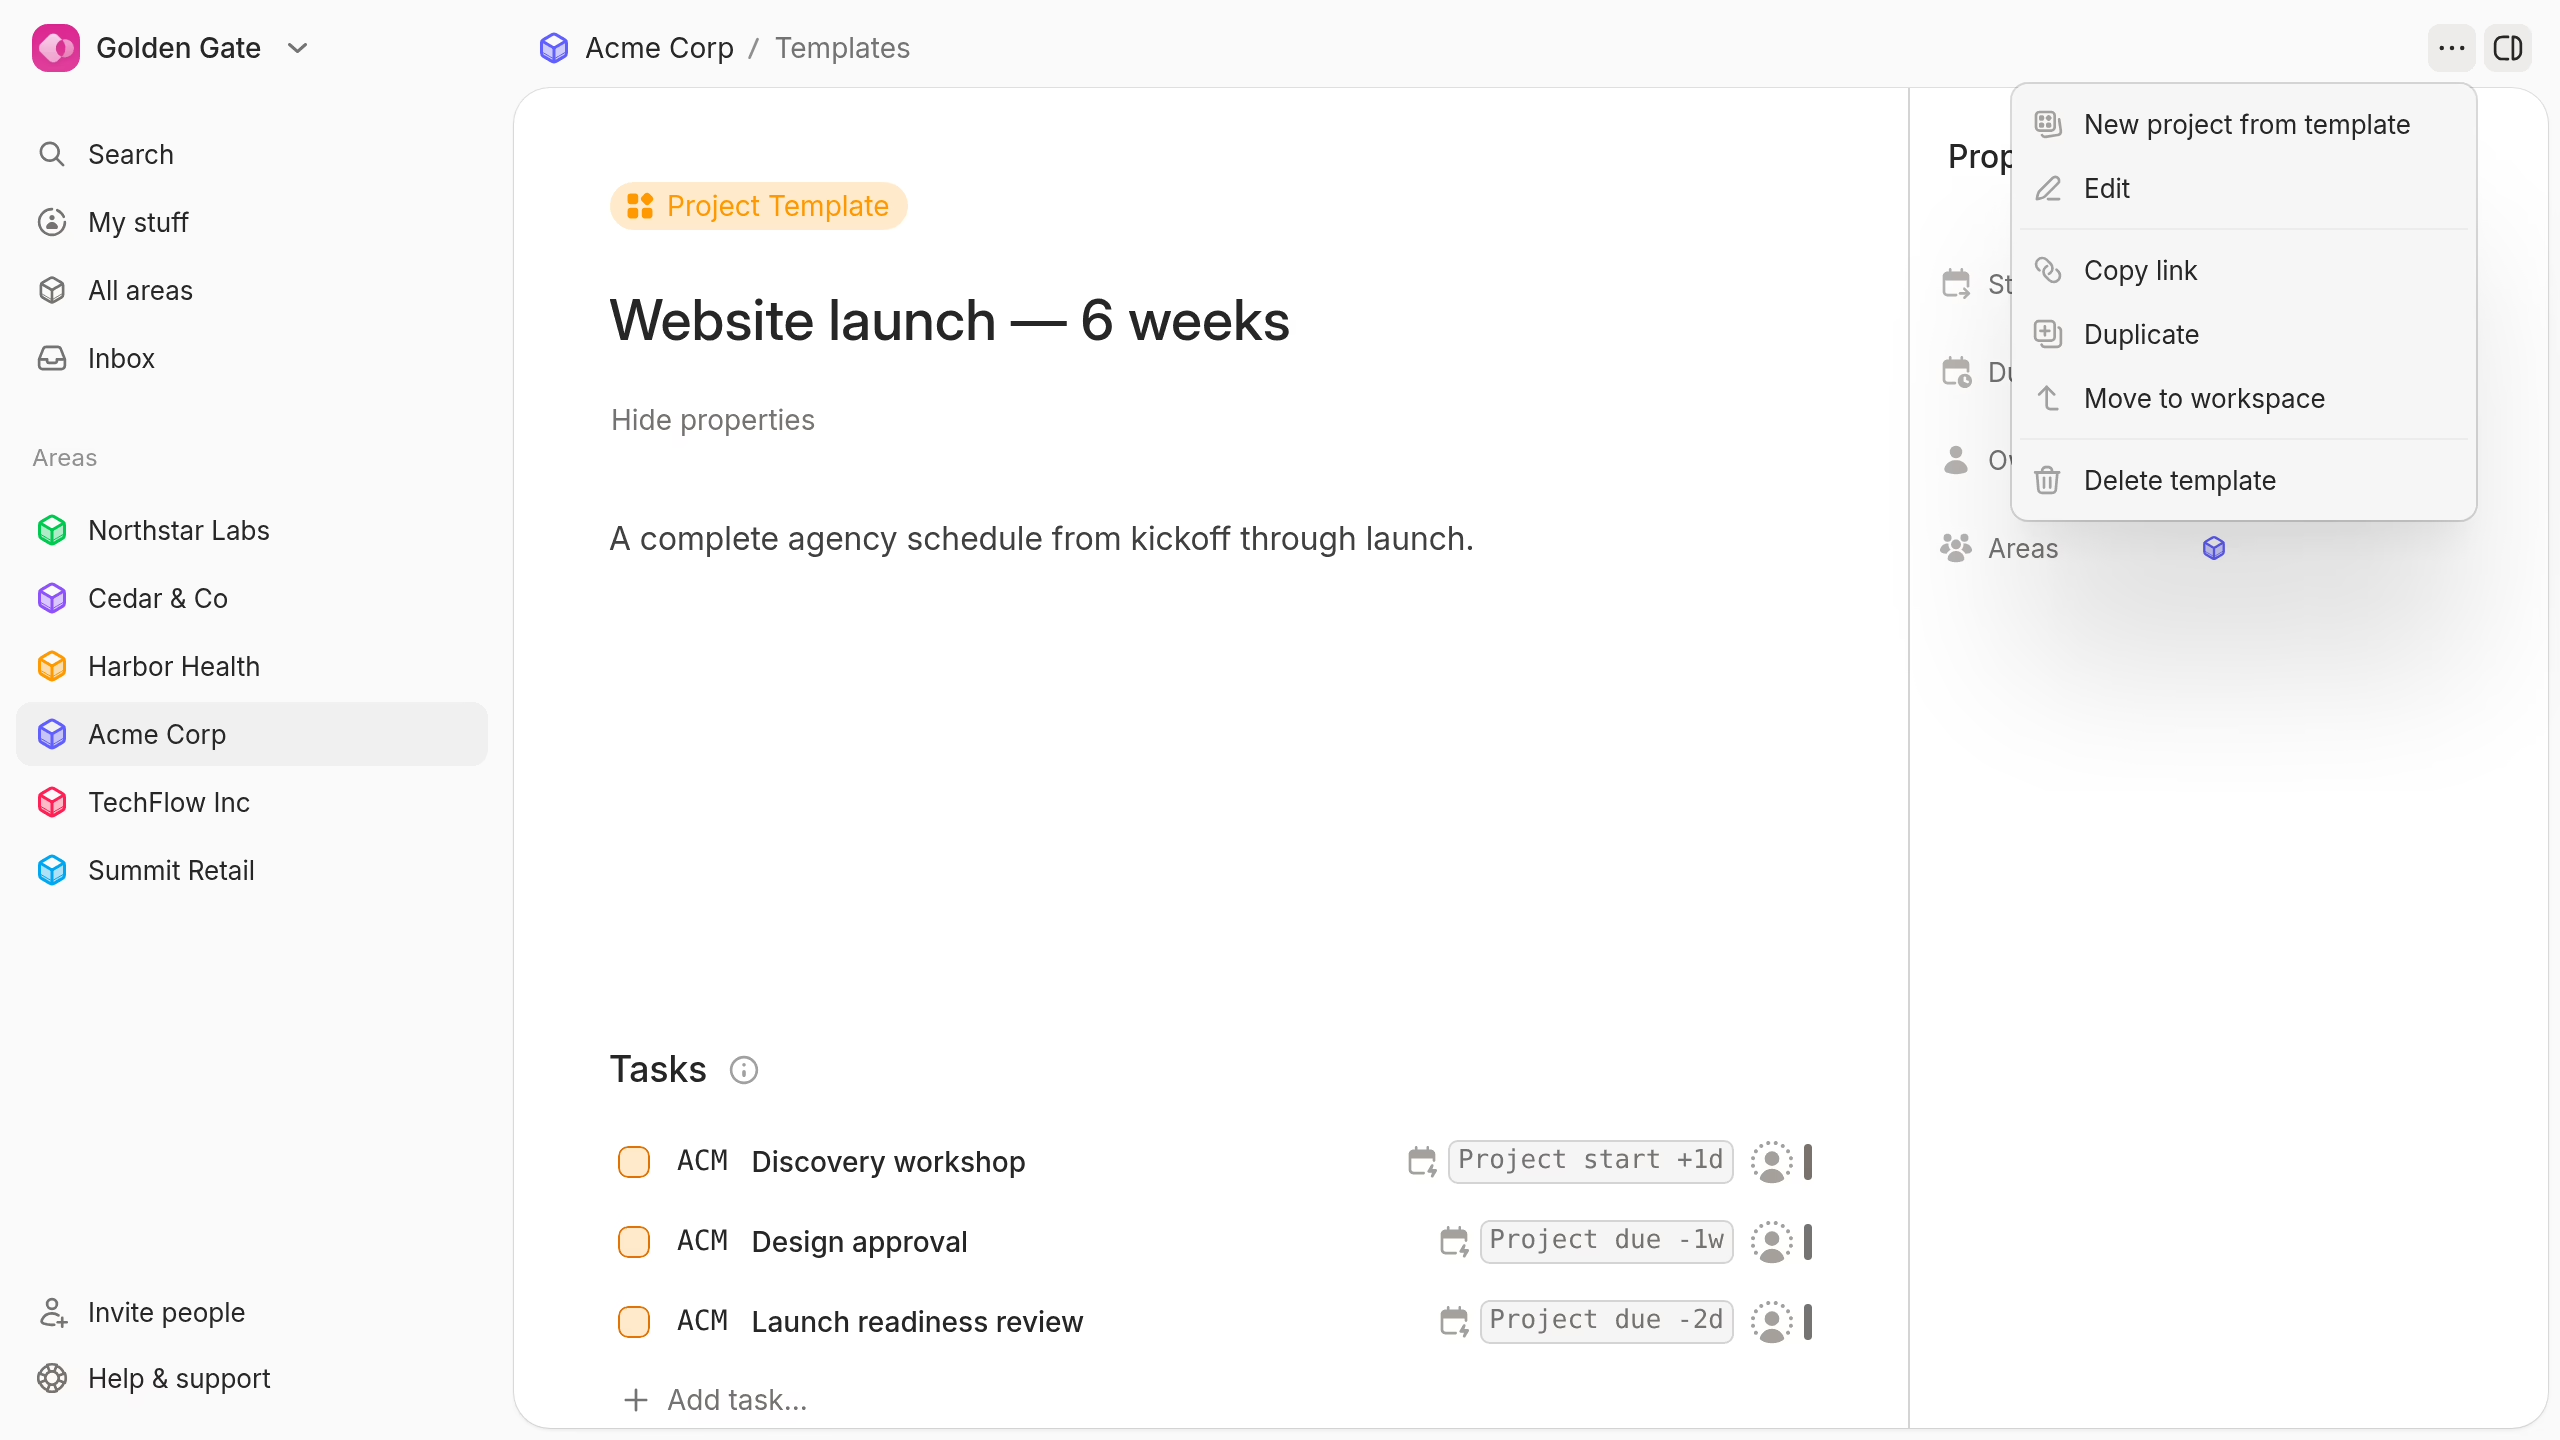
Open a project template's menu to use these actions:
- New project from template creates a project from the current version.
- Edit opens the template editor.
- Copy link gives another member a direct link.
- Duplicate creates a new template that you can adapt.
- Move to workspace makes an area template available across the workspace.
- Delete template moves the template to trash for seven days.
Workspace templates do not show Move to workspace because they already have workspace scope.
Task templates provide equivalent create, copy, duplicate, and delete actions. Deleted templates show a restore action during the retention period.
Find and maintain templates
Search the template list by name. Drag templates to set the order that people see when they create work.
Update the source template when your process improves. Existing tasks and projects do not change, but each new copy uses the current template.
You can also open an established project and select Convert to template. This action turns a successful delivery plan into the next reusable workflow.
Move area templates to the workspace
Open an area template's menu and select Move to workspace. Open the area template library menu to move all templates at once.
The move removes values that only work in the source area:
- Task templates lose area labels, project links, and status links.
- Project template tasks lose area labels and status links.
- Plot keeps each task's general status stage for later mapping.
Review the confirmation before you move a template. You need permission to update the area and create workspace content.